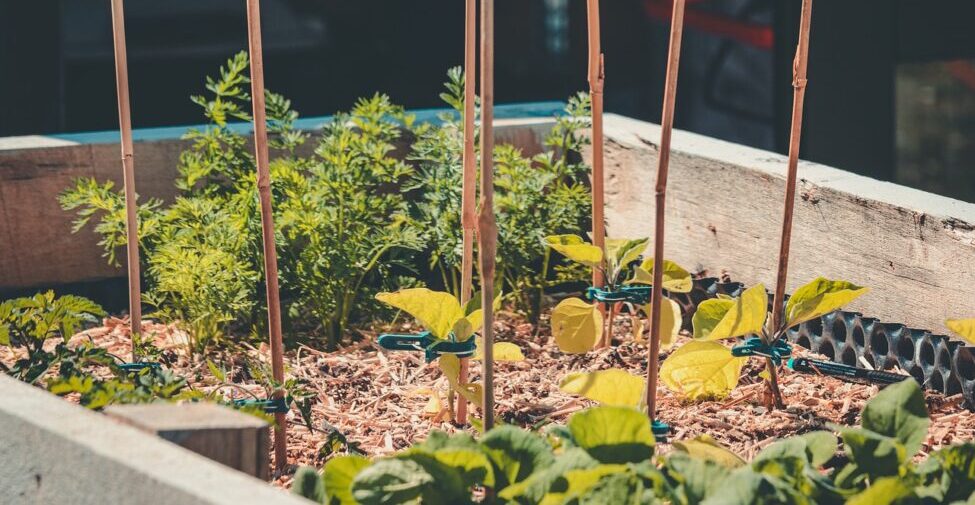
Anyone can develop a green thumb, as long as they’re willing to invest a little time, patience and elbow grease.
Good planning is essential to successful gardening. Start your garden off right by selecting a location that receives at least six hours of direct sunlight daily, if possible. Good drainage of excess water is critical. Observe the site during these rainy days to avoid areas where water tends to stand. Try to steer clear of trees and shrubs that would compete with your garden plants for water, light and nutrients. Walnut trees in particular produce a substance called juglone that is toxic to some garden plants.
Once you’ve selected your site, sketch your plans on paper. Decide how big the garden will be, what crops you want to grow and where to place them. Beginners tend to go overboard, not realizing how much work lies ahead. It’s best to start out small and gradually add to your patch each year as needed. A 100-square-foot plot should be plenty for your first venture. Or consider making a small raised bed garden. Those without adequate space can consider gardening in containers.
Many different vegetables will produce well in Indiana. Most new gardeners start out by picking up a few seed packets at their local grocery. This is an acceptable way to get started, although there is no guarantee that the cultivars of vegetables being sold are best suited for Indiana conditions. Garden centers are more likely to have a wider choice available. More-experienced gardeners often order online to supplement what is available from local garden centers, taking time to pick out cultivars that have the particular characteristics they’re interested in.
Before heading out to the garden to plant, you’ll need to gather some tools and properly prepare the soil. A hoe, rake, spade, sprinkler, string and stakes are about the minimum tool supply you’ll need. It’s a good idea to have your soil tested as early as possible to learn how much of what kind of fertilizer to apply.
Next, prepare a good planting bed, but make sure the soil has dried sufficiently before you work it. Working wet soil will damage the soil’s structure. Squeeze a handful of soil, and if it crumbles away easily, it’s ready. If it sticks together in a muddy ball, you’d better hold off. When it’s ready, work the soil at least 6 inches deep. A rototiller makes this job pretty easy, but for small plots a spade and strong arms will do. Then rake the soil surface level.
Most seed packages will list planting directions such as depth and spacing. When setting out transplants, be sure to dig a hole larger than the soil ball of the plant to aid root establishment. Most transplants are sold in containers that must be removed before planting. The exception is those sold in peat pots (brown, fibrous pots) that can be planted but do need a little modification. Tear off the rim of peat pots to ensure that no part of the pot will stick out of the soil. And, if roots are not growing out of the bottom of the pot already, it’s helpful to tear or poke holes through the bottom of the pot to allow for easier root penetration. Transplants dry out and wilt rapidly, so be sure to get those transplants watered thoroughly as soon as possible.
The job doesn’t end with planting. There are always weeds, insects and diseases to battle. There are numerous cultural types of controls and preventive measures along with chemicals. No one chemical will control all problems on all crops, so you’ll need to identify your problem correctly and then choose the proper control strategy. A pesticide is not necessarily the best method.


